How to launch an engagement survey
Last updated: May 6, 2026
Launching a survey
Go to Engagement -> Surveys page and start setting up the survey:
Click 'New survey'
Select 'Create survey'
Follow the UI to clone an older survey from Templates or craft a new one
Choose the start and end times, and survey participants
Add questions and target them to selected groups if needed
Save as a draft, or schedule if you are done.

Creating custom survey questions
If you cannot find everything from the list of standard questions, you can always create Custom Questions in Customize surveys:

This offers great flexibility, but comes at the cost of not having benchmark data and not being able to include the question in the default Theme and KPI scores as those are based on Teamspective's data analysis and modelling.
Once added to the question library, your custom question will become available for single surveys.
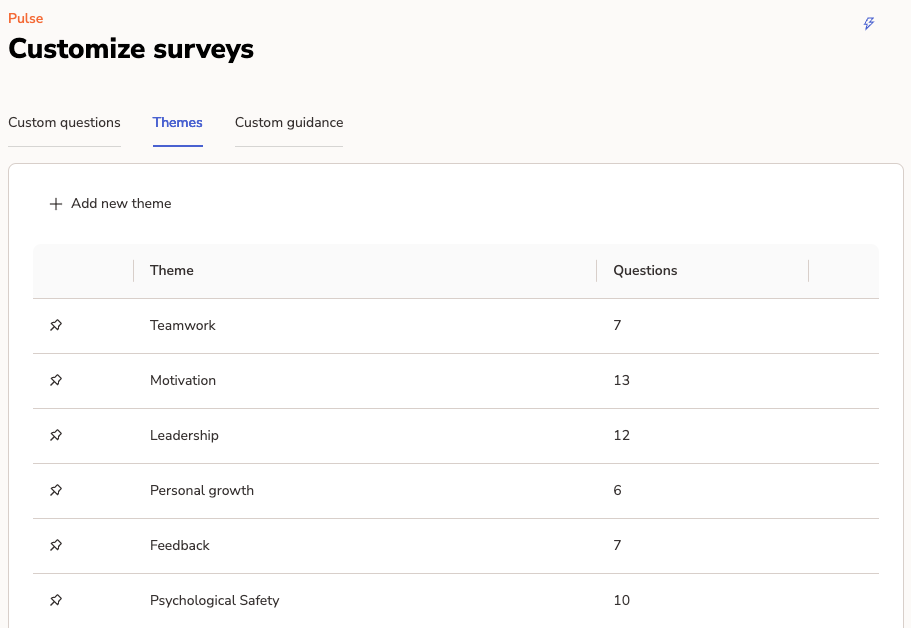
Custom Themes
Every organization is different and might require very specific metrics to help get the most out of their engagement data. This means combining a unique set of engagement questions to produce a score that can be used to track improvement.
Using Custom Themes you can create any amount of custom themes and select which engagement questions are calculated into that theme's score. Custom questions can also be included into a custom theme which allows you to build fully customized surveys and reporting. Once you create a custom theme, Teamspective automatically calculates the new score based on your historical survey data.
Visibility of Custom Theme and pinning to Overview page
You can adjust the visibility of any Theme (or KPI). This will make the Theme score visible to only the selected group of users.
Additionally, you can pin any Theme to the Overview page to truly customize your reporting.

Adjusting Survey Settings
In Engagement -> Settings you can find all the visibility settings for survey results and comments. We suggest to stick with the defaults to get started and then move to tweaking your visibility based on what seems good for your organization.
The Settings include:
(1) Show survey results of all groups to:
This setting allows to make all survey results visible to everyone.
We strongly suggest starting with the default selection, which limits result visibility and only allows workspace admins, observers and analysts to have access to all the results.
(2) Hide survey results in groups with:
Survey results are hidden for a participant group if the amount of responses to a question remain small.
You can adjust the threshold with this setting.
The default option requires at least 4 responses per question from the participant group.
(3) Survey comments can be made visible to:
Limit the extent of which comments can be made visible.
The default allows responders to share their comments with both admins and regular members of groups.
(4) Default option for pulse comment visibility when user adds comments:
This setting allows you to define the default option which will be displayed for responders when they are leaving comments.
Note that the responder can choose to change the selection based on how they wish to share the comment.
This option is limited by setting (3)
(5) Enable / disable the AI sentiment analysis for Comments
(6) Enable / disable the My answers page

Survey targeting
You can target the whole survey to a specific group of employees. This will send the survey only to the selected people. Select the right groups from the Participants field in the survey settings section when creating a new survey.

Survey targeting also works on the question level. This allows you to include some questions which are only sent to a sub-set of your survey participants.

Editing a scheduled survey
A scheduled survey can be edited or cancelled at any time before its published. Just click the edit button and save any changes to your survey.

Adding the survey to a Survey program
Survey programs are used to combine specific surveys into one program to allow filtering the survey results
Steps:
Create a new survey program from Customise surveys -> Survey programs
Optional: Restrict which employees are able to participate
Optional: Adjust the aggregation window settings (read more here)
Save the program
Create or edit a survey
Add the survey to a program from the Survey program field
Results from the survey will now be visible only in this specific survey program!